When I was in my late teens and early twenties I was completely in love with anything tie-dye. I owned tie-dye pants and skirts, t-shirts, bandanas and I even had a huge tie-dye cloth that I used as wall art in my room. It was my thang!
Who am I to withhold such infatuation with tie-dye from my children?
And so we found ourselves here...
TIE-DYE T-SHIRTS!
What you need:
- any basic tie-dye kit (we got ours from Michaels)
- t-shirts, shorts, bandanas... anything you want to go tie-dye crazy on!
(and make sure they are pre-shrunk)
- elastic bands
- plastic bags
What you do:
First, you excuse the orientation of some of my photos. Something went a little wacko here that I couldn't reslove :(
Then, you get your t-shirts (or whatever you are working with) and run it under some water. Wring it out thoroughly so it's less wet and more damp. If you do this step, you ensure that your colors blend together nicely.
Now you are ready for the elastics. We did three different designs... I labeled each with a letter below. When you scroll down further you can see the corresponding design that we ended up with.
First up, the princesses t-shirt...

t-shirt A
This one we tied randomly in little clumps. Just pick a spot as big or small as you want the design to be, make a little ball out of it between your fingers and tie an elastic around it.
t-shirt B
This one belonged to the boy. We picked a 'focal point' on the shirt. This can be anywhere. We happened to start ours in the middle as we hadn't done this before and he wanted to play it safe for the first time. Once we tied the first elastic, we just kept going down the rest of the shirt, bunching it up as we went. The spacing here also plays a part when the design is complete. You can see the end result below...

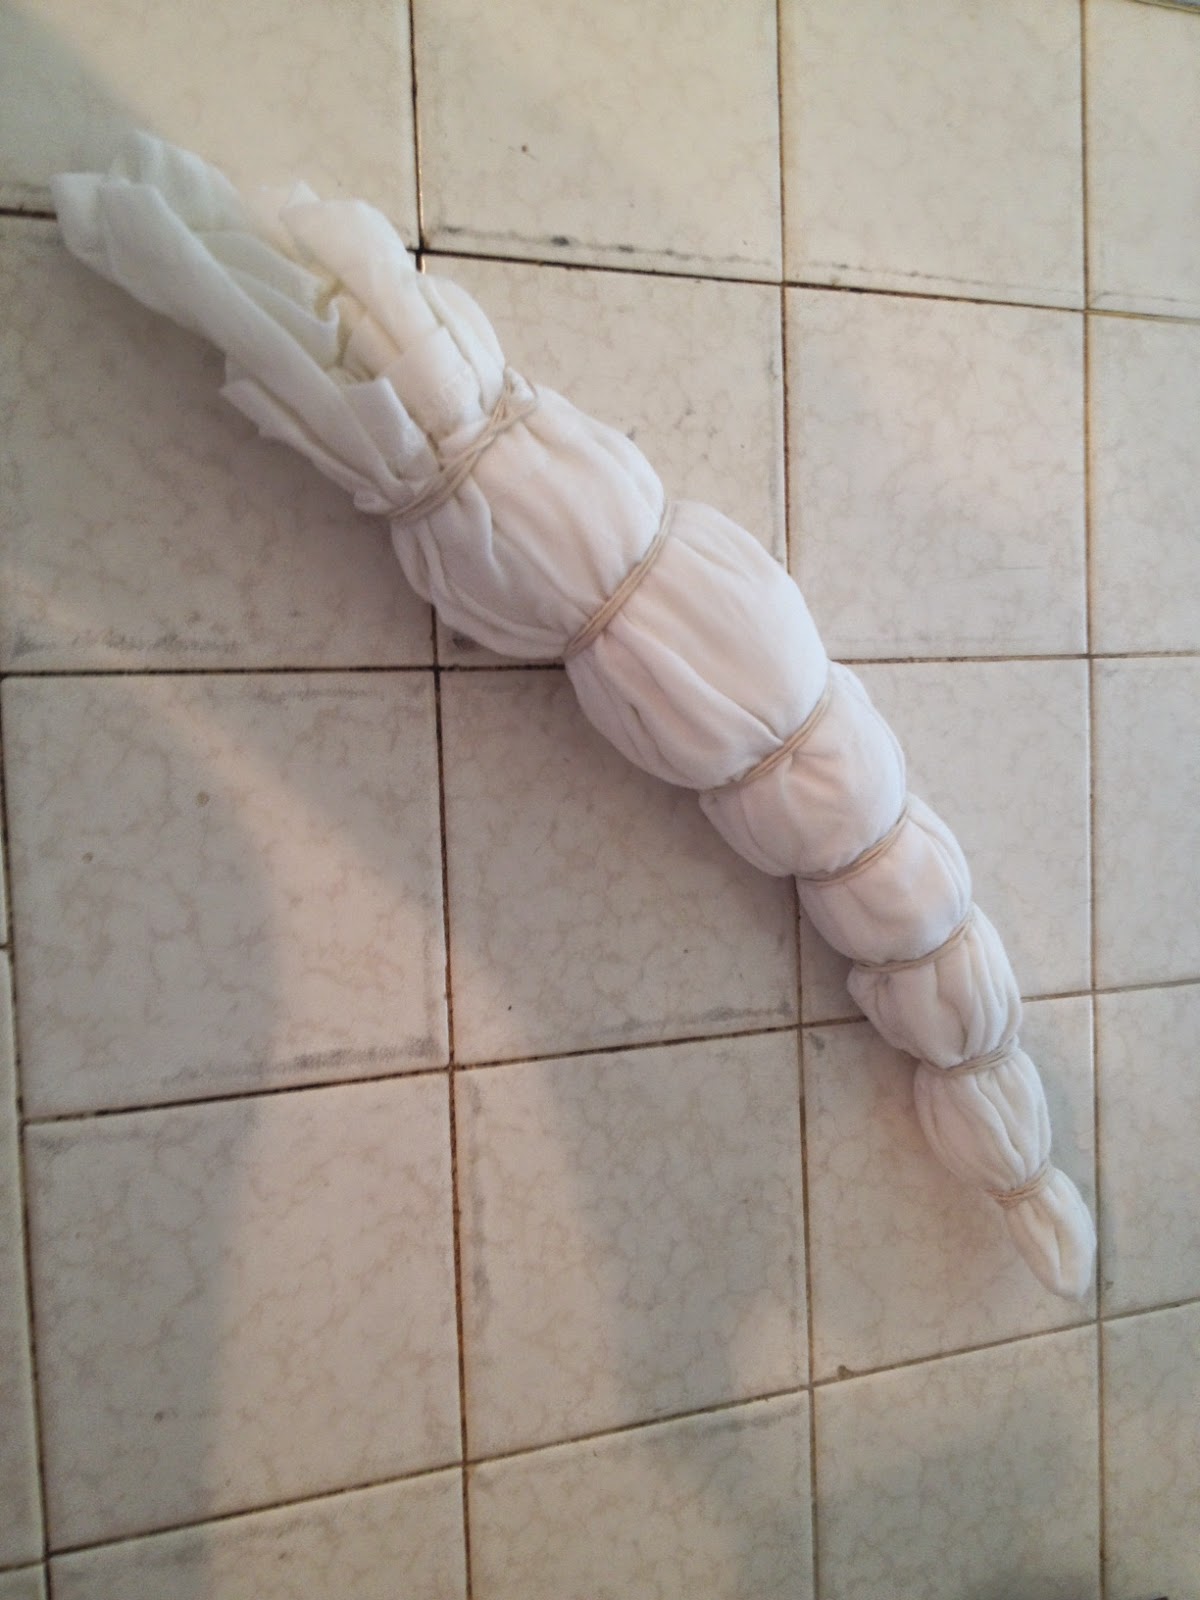
t-shirt C
This one was mine. I basically lay the t-shirt out flat and picked a spot for my 'focal point' or where I wanted the design to 'grow' from. I chose just above the heart for this one. I then used a plain old fork, placed it on the shirt and began to twist. As if to swivel spaghetti on to a fork.
yep... it always has to be food related... better yet... pasta related! :)
The shirt just kept wrapping around itself until finally it was more or less of a disc shape. That's when I attacked it with elastic bands to hold it all together.
OK, so now comes the fun part... COLOR!!!

We placed the t-shirts on a wire shelf inside of a big plastic bin. Some sources say to lay paper towels out all over the table so it doesn't make a mess... Mama 'aint got time for that shit! This was far less time-consuming and wasteful, and there was no work to prep the area. Bonus!
I chose purple, yellow and pink and just went at it. I don't think you can really make too much of a mess here on the shirt unless you use too many colors and lay them on top of each other. Yeah... don't do that...
I had to turn mine over to make sure both sides had color. You don't want to over-saturate the cloth to the point that it's dripping out the other side. It's also a good idea to leave some white spots... it makes the final design look great!

This is shirt A. My little girl's shirt. I think this one was my favorite...

Mr. Big Guy did his by himself obviously. Duh!


Once the paint is on the clothes, wrap each one up in a plain old plastic grocery bag. You want them to stay wet and not dry up. We did these around the late afternoon one day and left them until the following day at around 11am.
Now that they have 'marinated' for a while (at least 6-8 hours so the colors with stay), it's time to rinse them out. No pics here, since my hands were in the water!
For the first rinse, I left the elastics in and just ran it under the water, squeezing the dye out until the water ran somewhat clear. The I used scissors to carefully cut the elastics off (carefully... holes and tie-dye may be too much for one shirt to handle!) and rinsed the shirts out again, this time getting most of the dye to rinse clean. Admire your designs, they look awesome! Then the last step is to throw them in the laundry for a quick spin with just a tiny bit of detergent (no fabric softener either) and dry.
Here they are...

shirt A

shirt B

shirt C
In retrospect, I may have left the color to sit even longer than we did and in some cases we could have used more color. But all in all, I really love each of these and it was so much fun to do together. OK, the kids didn't wash the shirts out, but it was still a great activity we did this summer!
har har
I had to. Sorry ;)
Happy Creating!
:)
No comments:
Post a Comment